JET ART GALLERY / THE SPITFIRE STORY
The Battle of Britain, 1940. A defining chapter in the history of the Supermarine Spitfire and the people who flew and maintained it.
Explore this curated selection of aviation art depicting the aircraft, squadrons and pilots of the summer of 1940.
In the summer of 1940 Britain faced the prospect of invasion. Following the fall of France, the Luftwaffe sought control of the skies over southern England and the English Channel. The Royal Air Force’s Fighter Command stood between German air power and the ability to mount an invasion across the Channel.
The Supermarine Spitfire, designed under R. J. Mitchell’s leadership, became the best-known British fighter of the battle. Its elliptical wings, speed and agility made it a formidable opponent, particularly against the Messerschmitt Bf 109. Yet the Spitfire was only one part of the defence. The more numerous Hawker Hurricane carried a substantial share of the fighting and destroyed more enemy aircraft than any other Allied fighter type during the war.
The Battle of Britain is officially commemorated as running from 10 July to 31 October 1940. It began with attacks on shipping and ports, intensified with assaults on airfields and radar installations, and shifted towards large raids on London in September. These changes placed relentless pressure on pilots and on the air defence network supporting them.
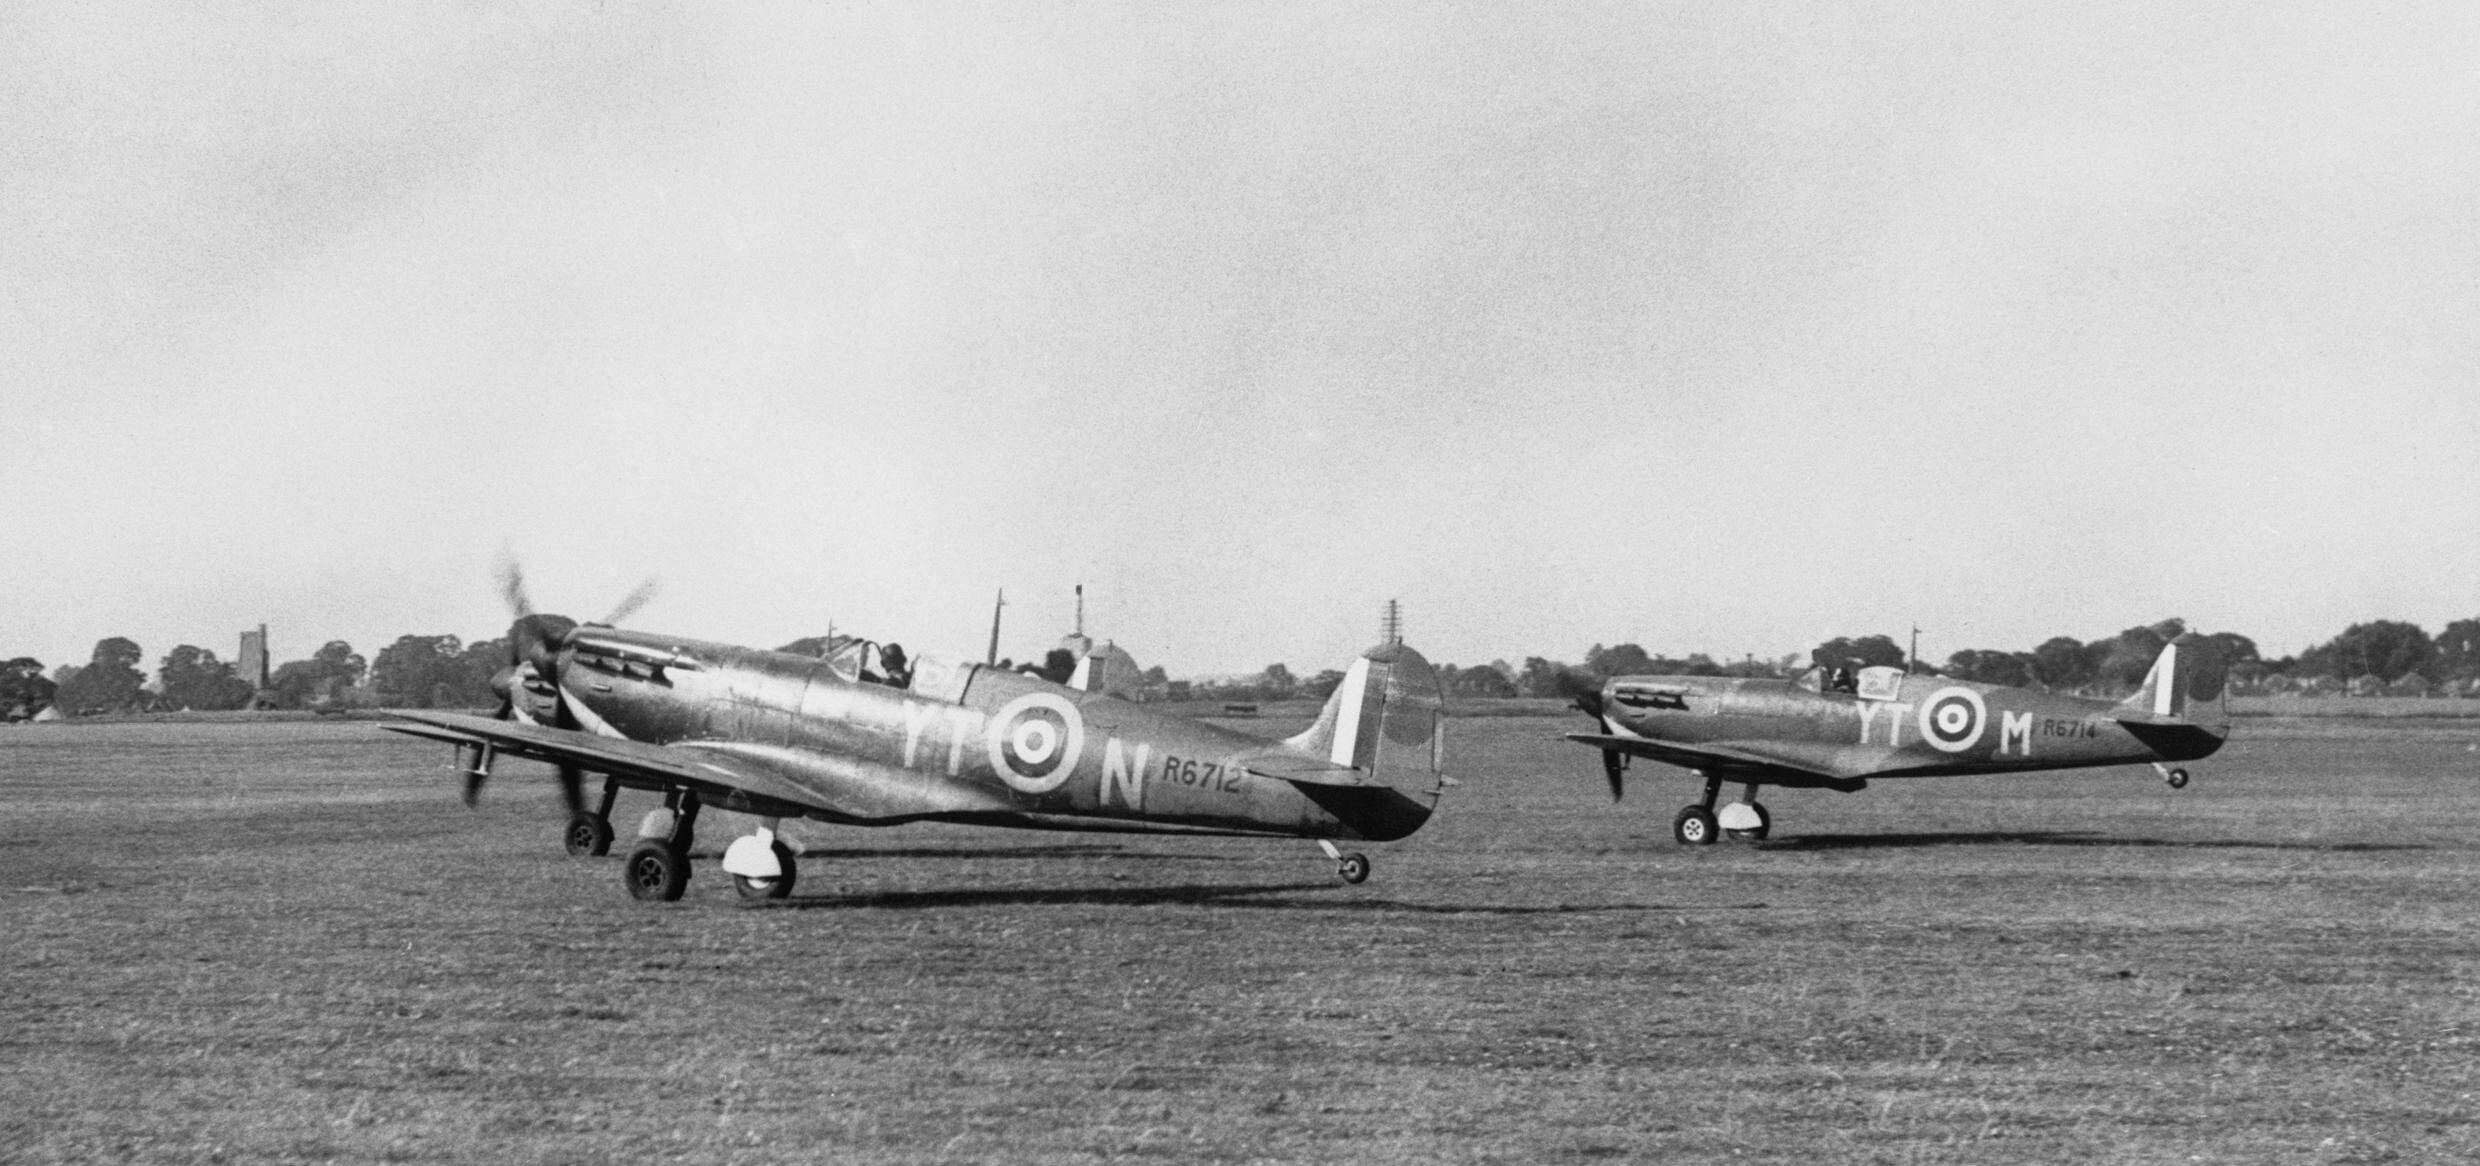
A genuine Battle of Britain photograph showing three No. 65 Squadron Spitfires taking off from Hornchurch. Archive record and image credit.
Spitfires could not defend Britain effectively if their pilots did not know where to find the enemy. Air Chief Marshal Hugh Dowding’s integrated air-defence system connected radar, observers, plotting rooms, controllers and fighter squadrons. It turned early warning into timely interception.
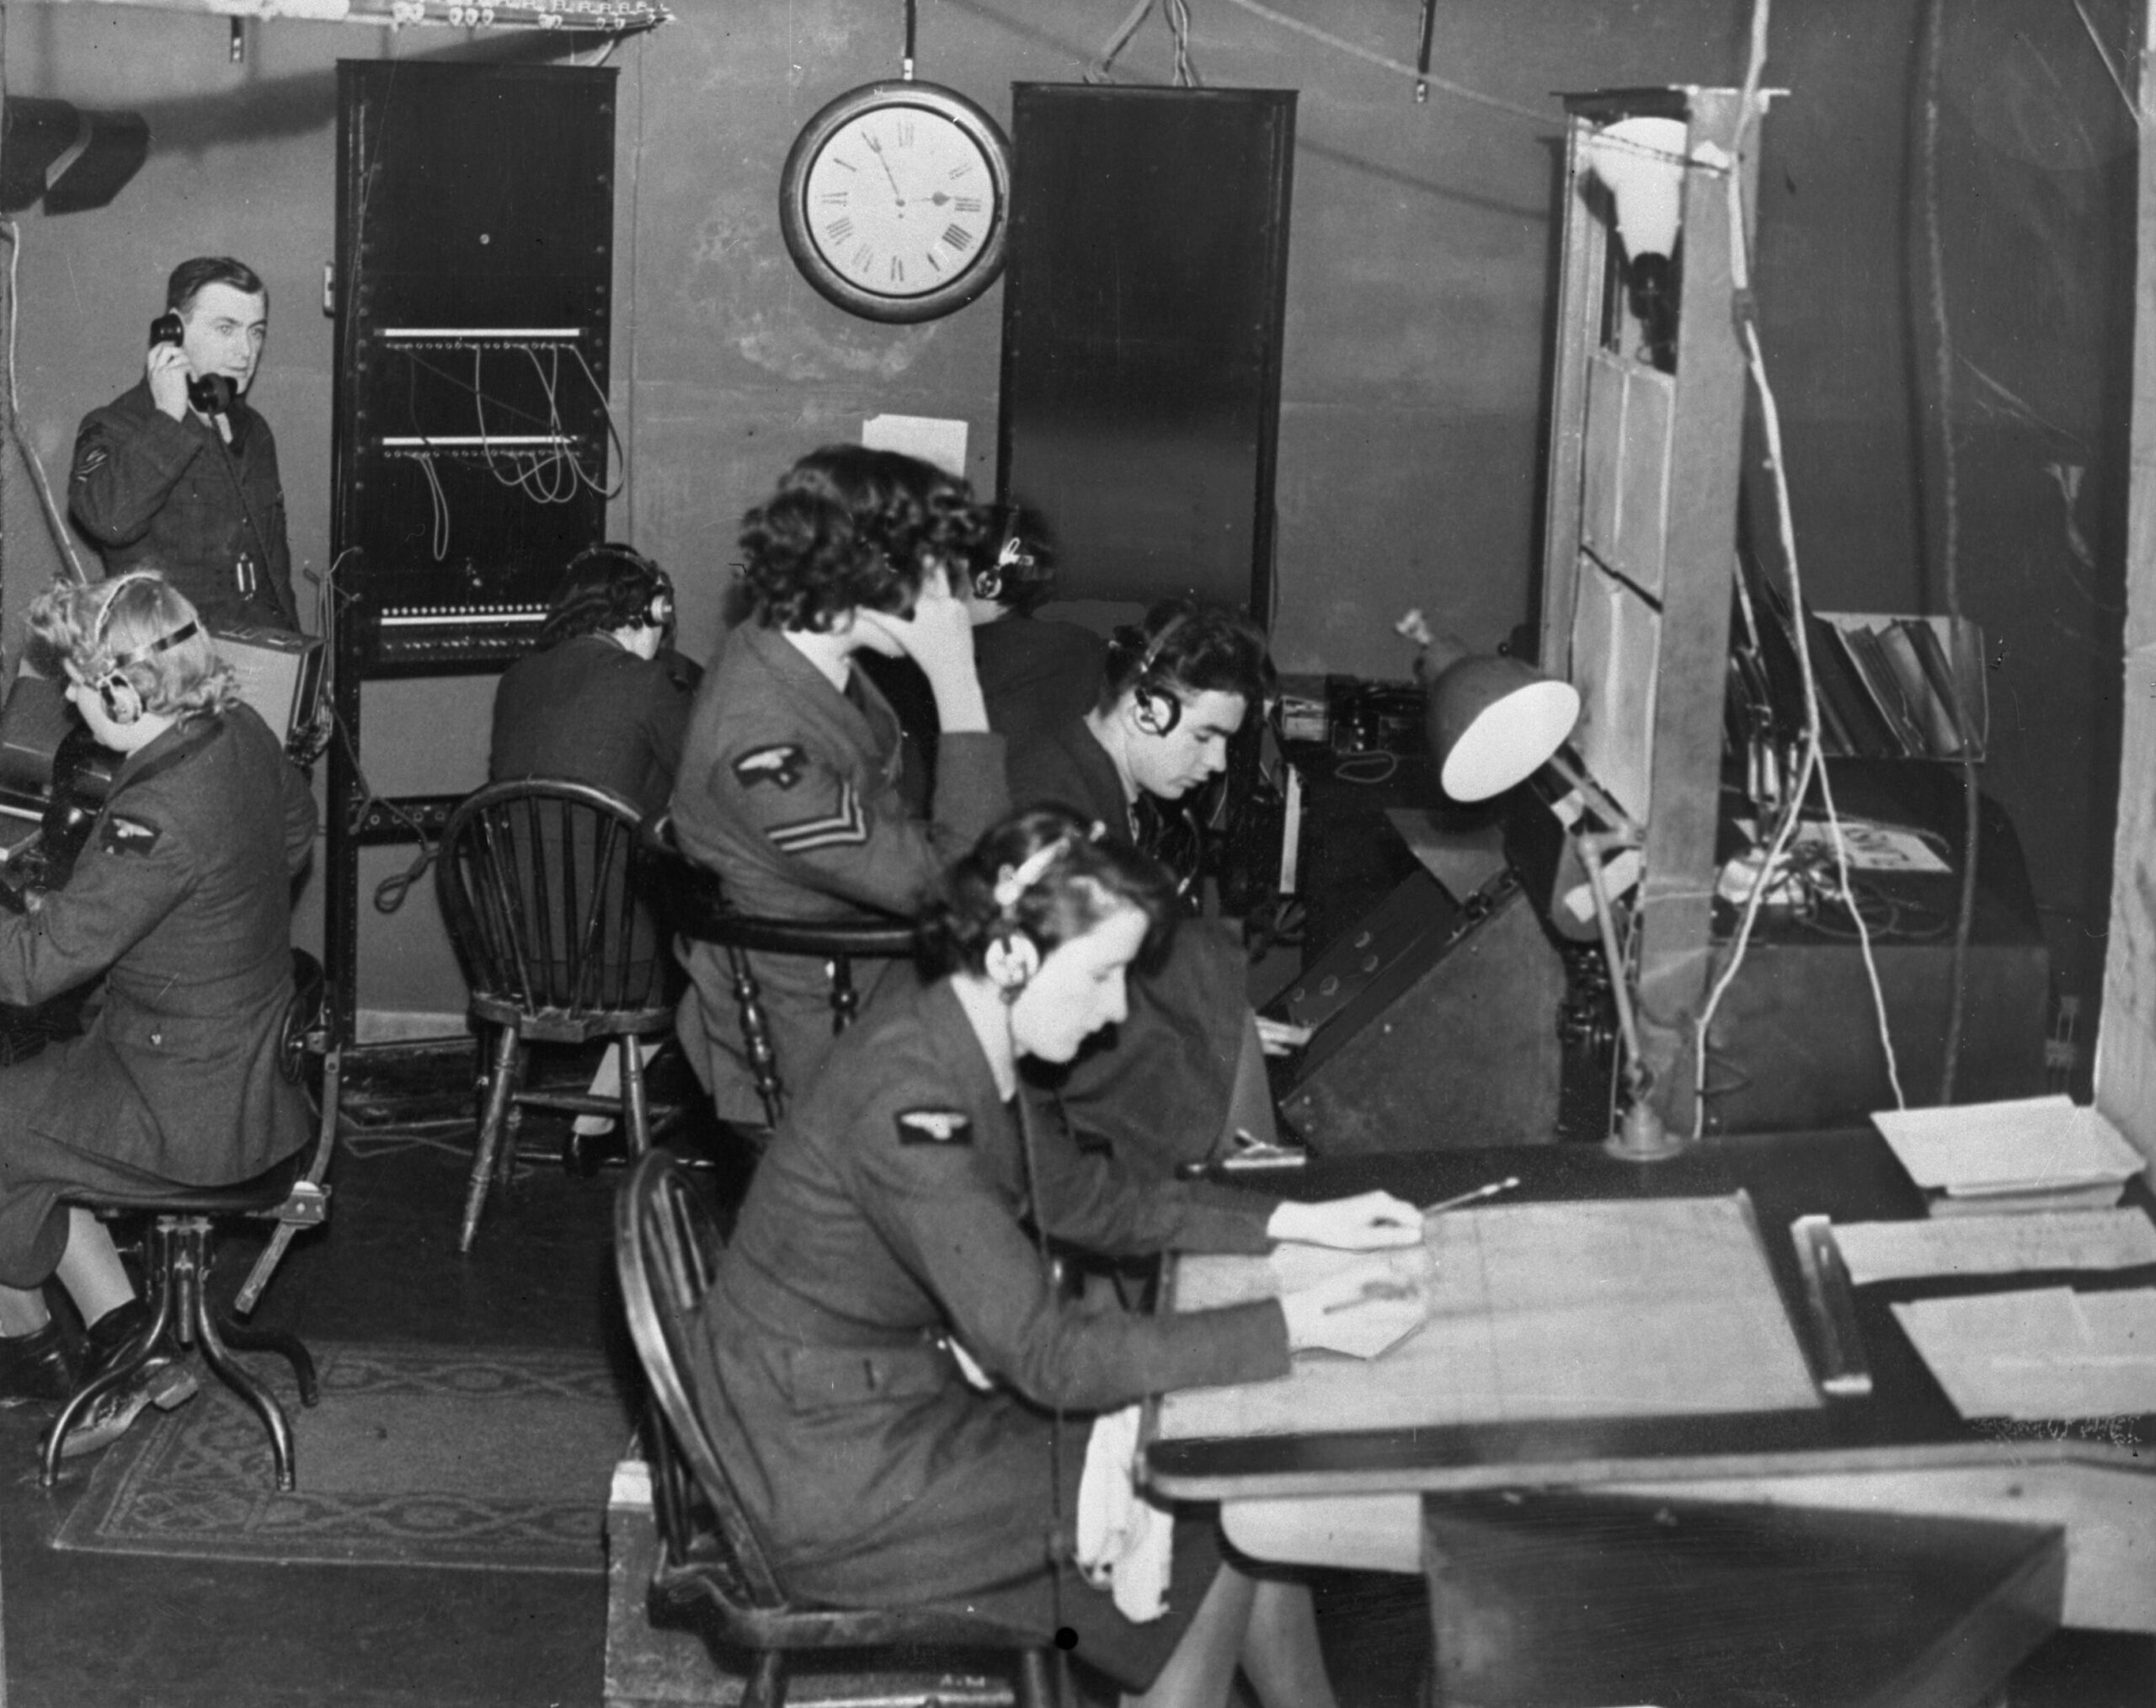
Along Britain’s eastern and southern coasts, Chain Home radar stations detected approaching aircraft while they were still out to sea. Their operators reported the approximate range, bearing and height of incoming formations. Chain Home Low helped identify lower-flying aircraft that the original system could miss.
Reports from multiple radar stations were checked and combined in Fighter Command’s Filter Room at Bentley Priory. The resulting tracks were passed to Group and Sector Operations Rooms, where WAAF plotters and other personnel updated large maps with the positions and movements of raids.
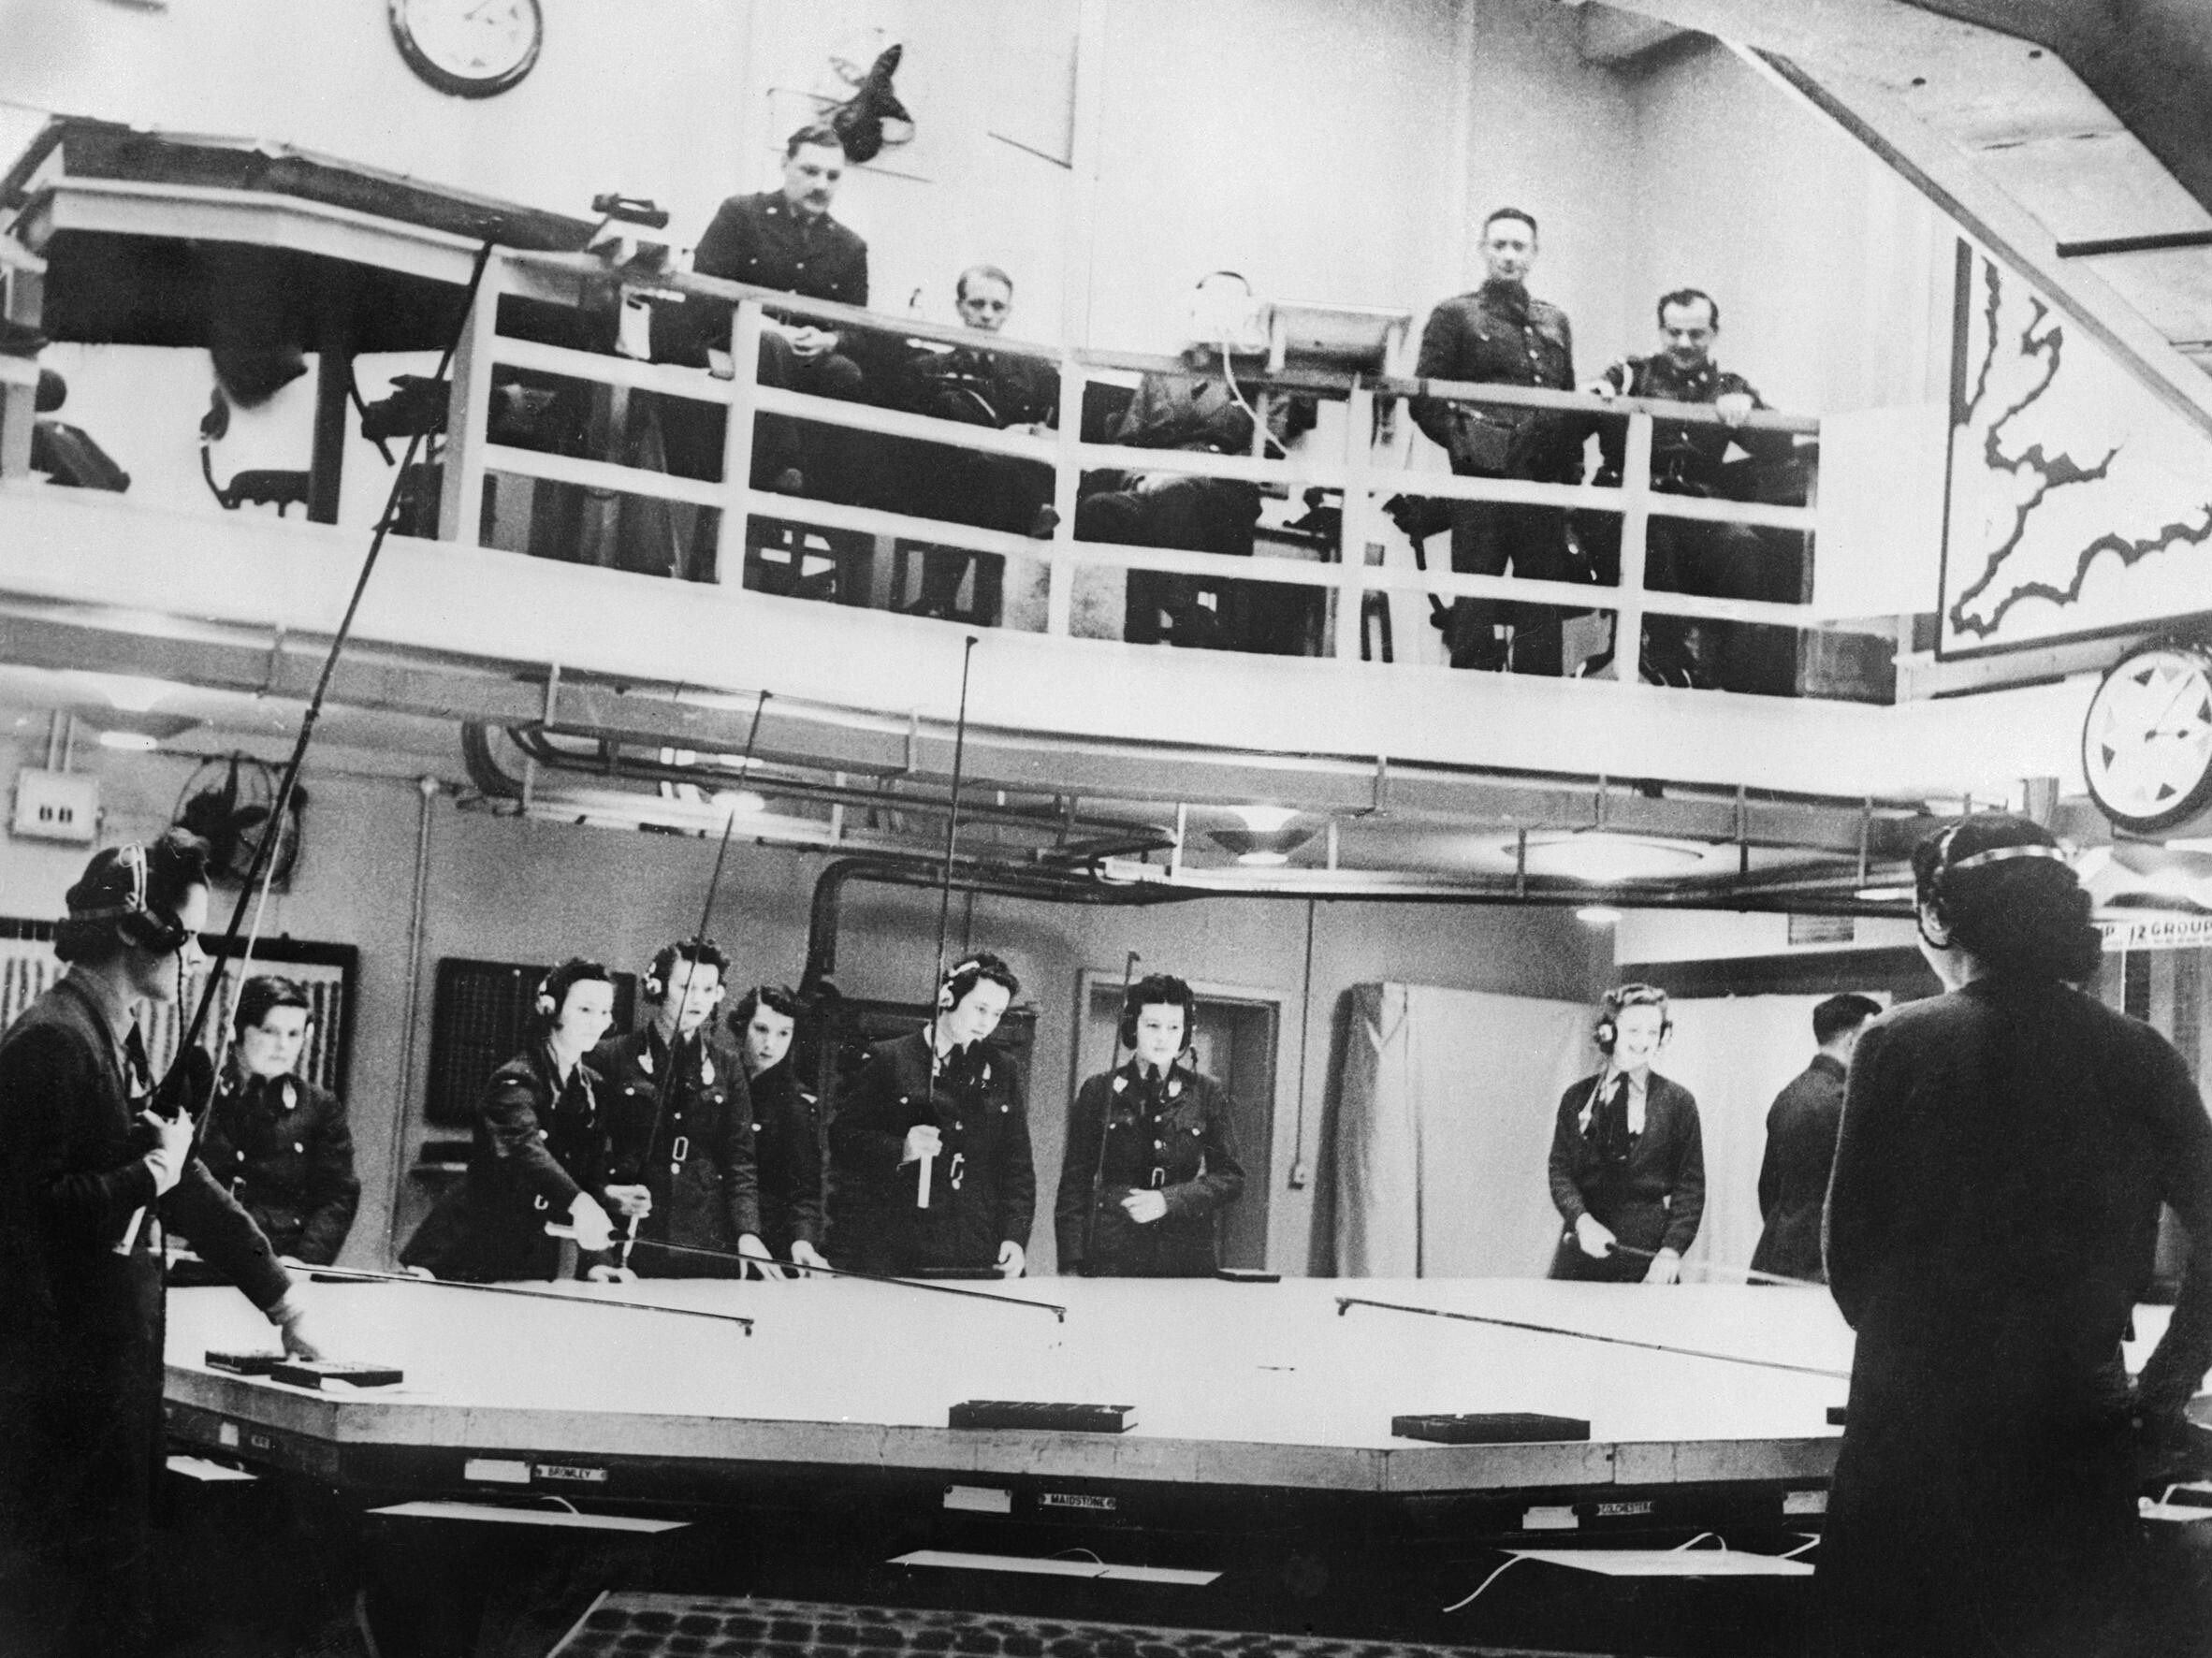
Once hostile formations crossed the coast, the Observer Corps supplied further visual reports. Group controllers decided which squadrons to commit, while sector controllers ordered the scramble and guided fighters by radio towards the enemy. This helped pilots conserve fuel and gain favourable positions for an interception rather than searching the sky unaided.
The system was not infallible, but it allowed Fighter Command to use limited resources with remarkable efficiency. The people working at radar stations, plotting tables and telephones were as essential to an interception as the pilots in their cockpits.
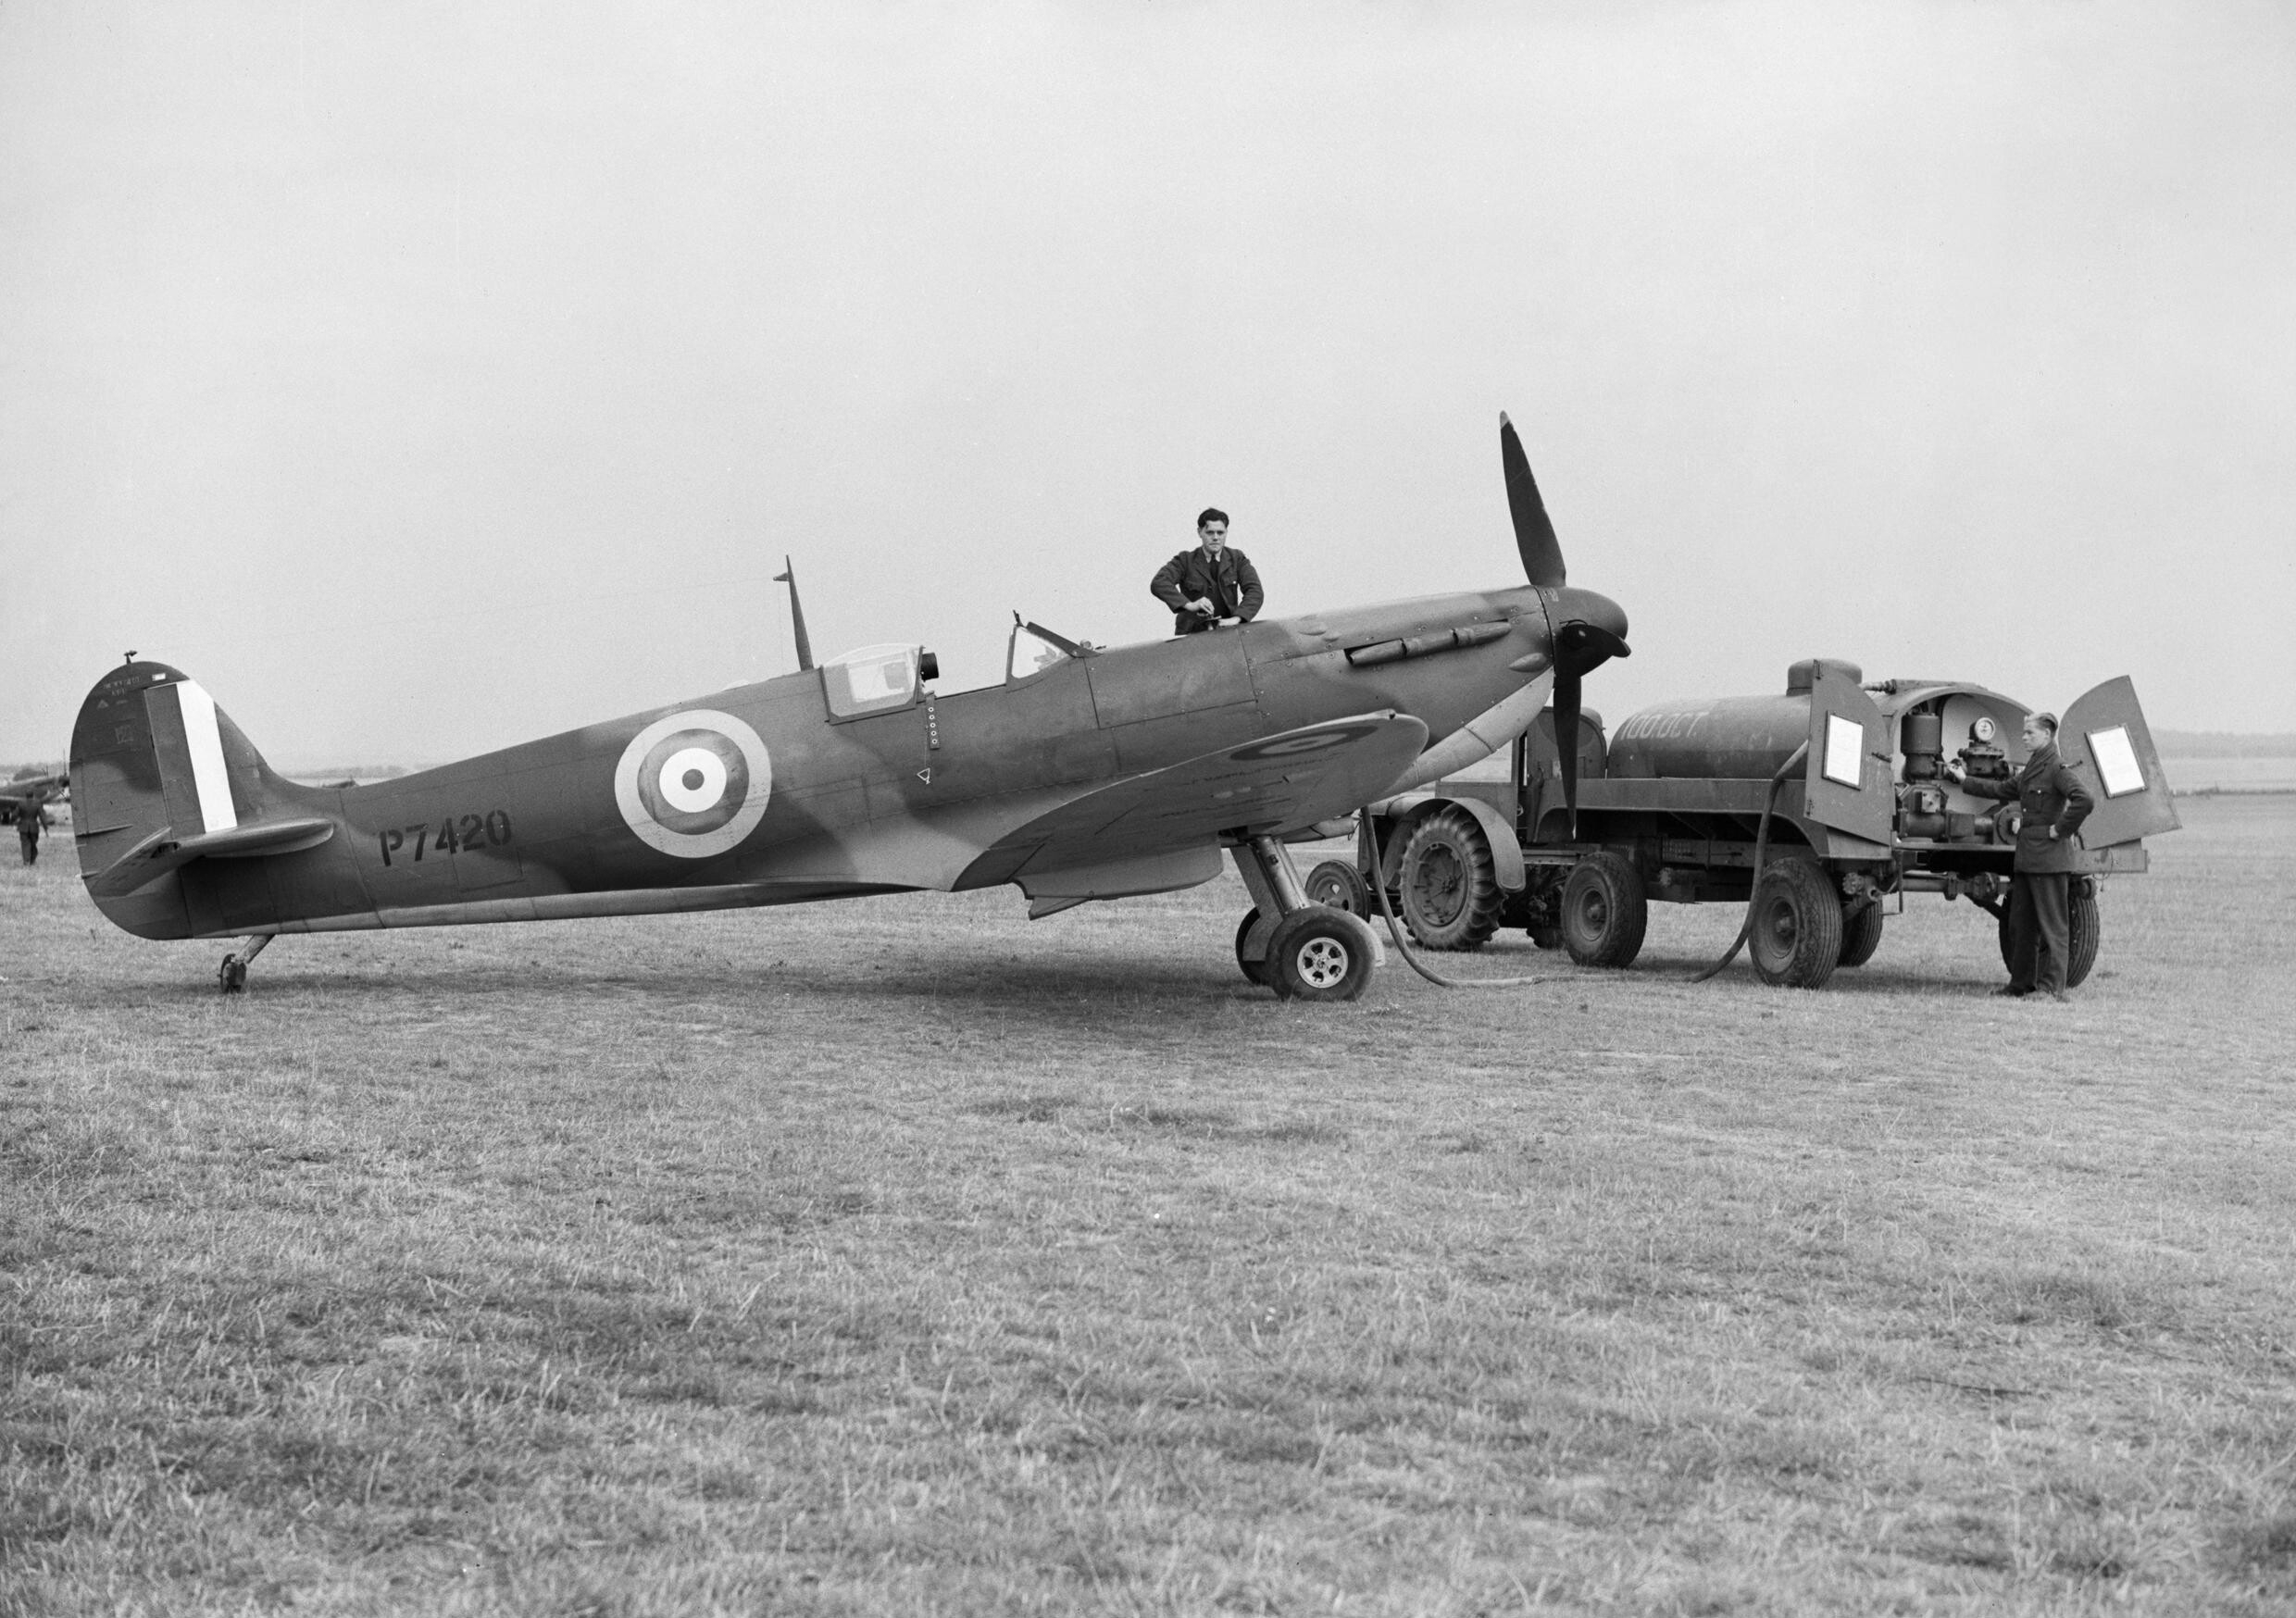
Every Spitfire returning to its dispersal point needed refuelling, rearming and inspection. Mechanics, armourers and other ground personnel worked through long days and nights, often under threat of air attack. Their skill and speed could determine whether a damaged fighter was available for the next interception.
Fighter Command’s aircrew came not only from Britain but also from across the Commonwealth, occupied Europe and elsewhere. The RAF records 2,945 aircrew who took part in the battle, including volunteers from thirteen other nations. Their individual experiences ranged from moments of extraordinary courage to exhaustion, injury and loss.
The aircraft paintings in this chapter are a way into those human stories. They capture the urgency of an interception, the concentration of a pilot, or the return to an airfield after combat. Each work should be read alongside the historical record: a painting is an artist’s interpretation, while contemporary photographs and archive documents help us see the people and places as they were.
By the end of October the Luftwaffe had failed to defeat Fighter Command. The immediate threat of invasion had receded, although the bombing of British cities continued. The Spitfire’s reputation endured, but the victory belonged to a much wider community of pilots, ground crews, factory workers, observers and controllers. Their combined efforts are the story we aim to preserve here.
Photographs: Air Ministry Second World War Official Collection, IWM C 1868 (Ventnor radar operators), C 1869 (Bentley Priory operations room), and CH 1357 (Fowlmere ground crews). Radar source · Plotting room source · Ground crew source.
27 September 1940 — over the Medway Estuary. Spitfires of No. 92 Squadron from Biggin Hill intercept Junkers Ju 88 bombers of KG77 heading towards London. Anthony Saunders captures Pilot Officer Geoffrey Wellum banking away after sharing in the destruction of one of the bombers.
The encounter brings to life the story told above: radar, plotters and sector controllers helped guide Fighter Command’s pilots towards approaching raids. Once in combat, everything depended on their skill and split-second judgement.
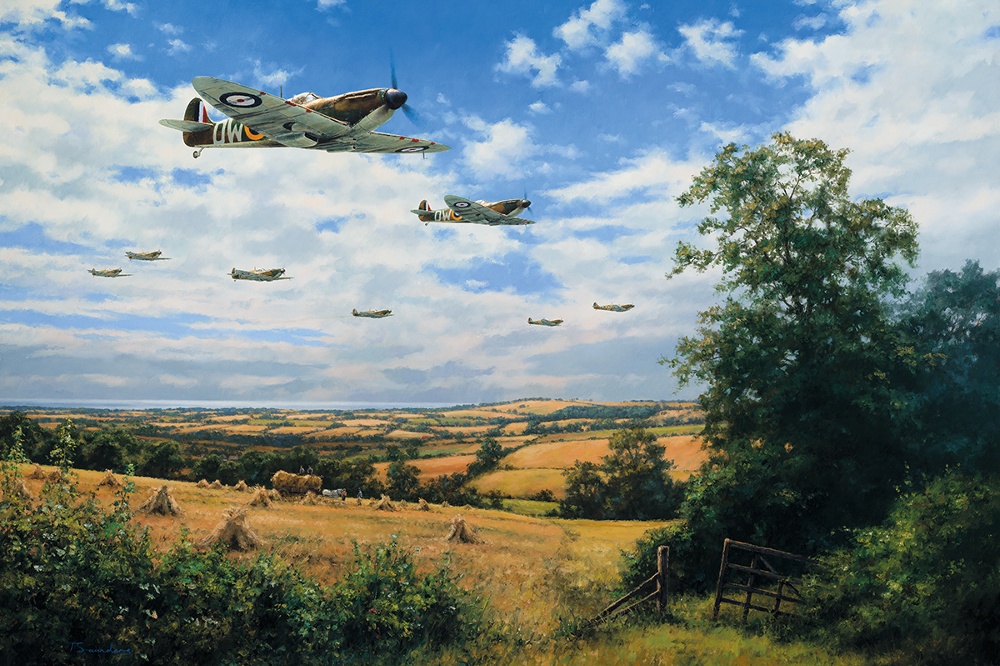
Explore a curated selection of Spitfire paintings inspired by the Battle of Britain, capturing the aircraft, pilots and atmosphere of the summer of 1940.
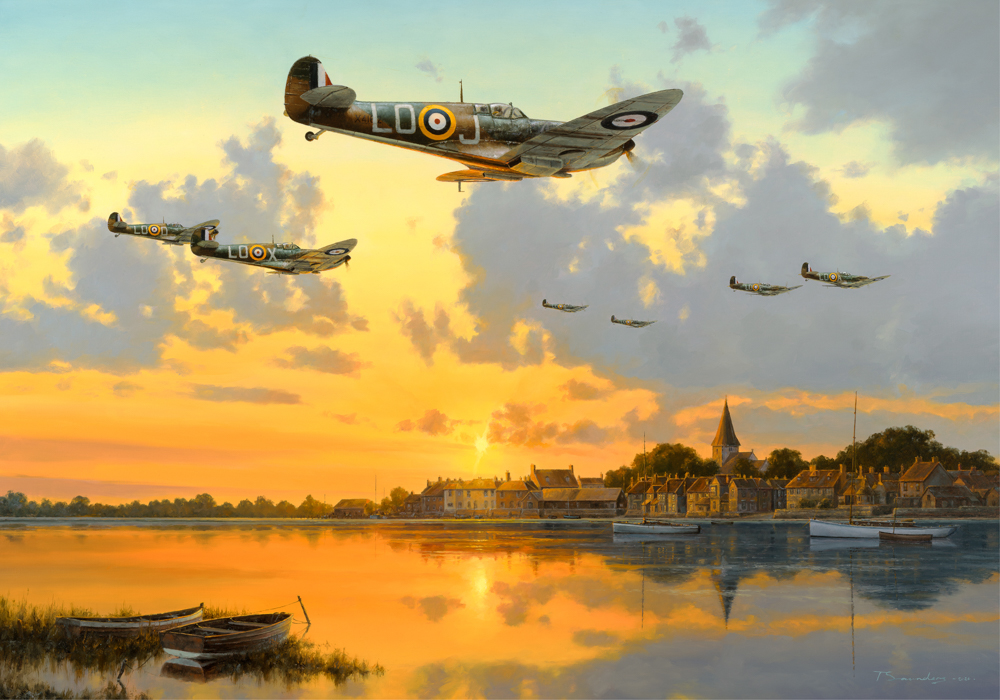
A tribute to the sound and presence of the Merlin-powered fighters that became synonymous with Britain’s air defence. Explore the artwork for its specific scene and edition details.
An evocative portrayal of the summer skies of 1940, inviting visitors to consider the intensity of the air fighting over southern England.
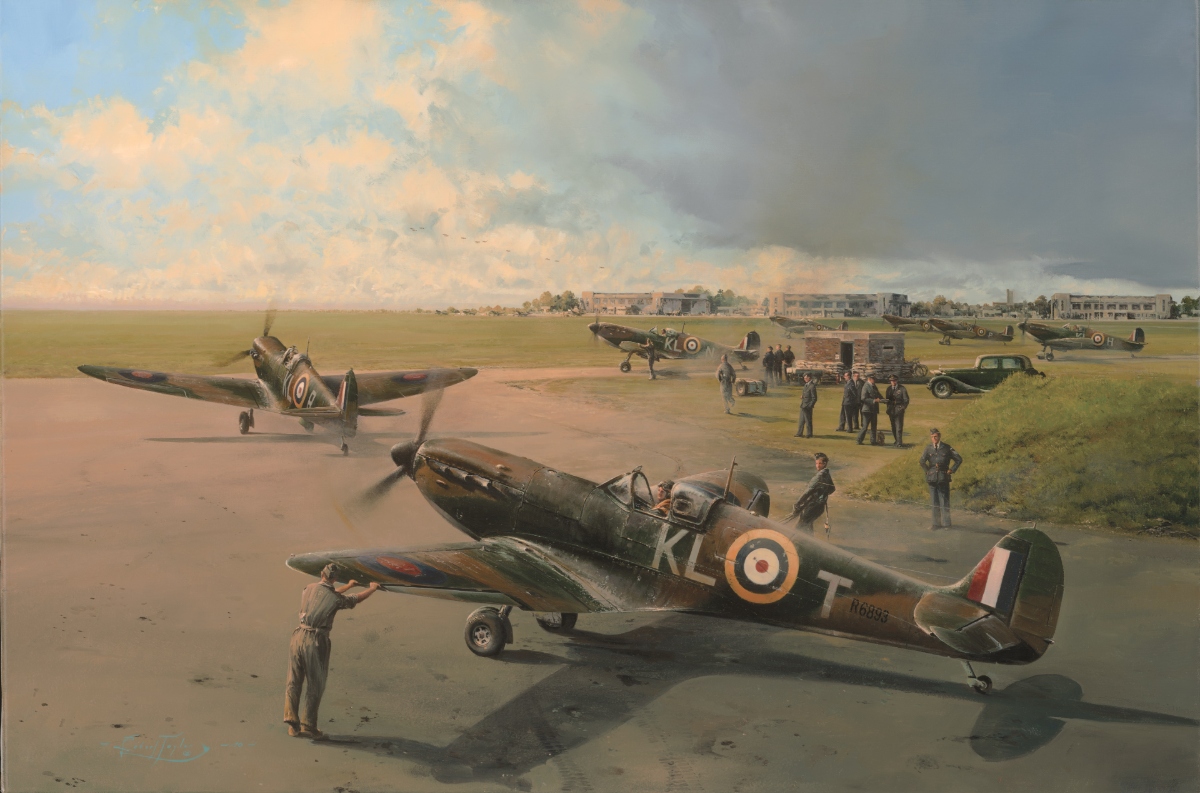
The return from a combat sortie was as much a part of the story as the interception itself. Anthony Saunders evokes the relief and exhaustion that followed another demanding mission.
Hornchurch was one of Fighter Command’s important sector stations in No. 11 Group. The precise scene represented in this painting remains to be verified.
Anthony Saunders evokes the long summer days and the sustained pressure of the Battle of Britain, when the skies over southern England became a defining theatre of the air war.
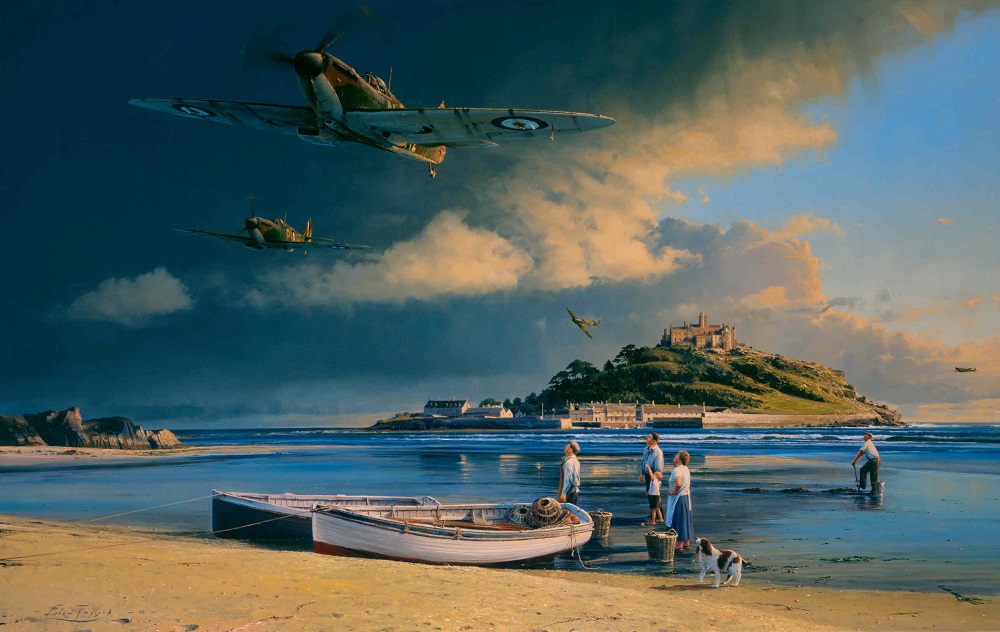
A reminder that the battle’s reputation rests on individual service and sacrifice. The painting’s specific subject and signatures require confirmation.